Anedya Quick Start Guide
In the first part of this guide, we’ll set up a project called "Room Monitoring". This includes creating a new project and node (It represents a physical device in your IoT application and allows you to perform actions on that device) in the Anedya console.
In the next part of the guide, we will move on to connecting a device to the Anedya and explore:
- Getting Data – Monitor and record room temperature and humidity levels.
- Sending Commands – Manage and control room lighting directly from the Anedya console.
- Firmware OTA – Keep your device updated with the latest features and improvements via over-the-air firmware updates.
- Triggering Events – Notify users if temperature or humidity readings exceed defined thresholds to enable timely interventions.
Set Up a Project in the Anedya console
If you haven't created an account on the Anedya, follow these steps to create one. If you already have an account, sign in to access the Anedya console and proceed to create a new project.
Create an Anedya Account
Follow these steps to create an Anedya account:
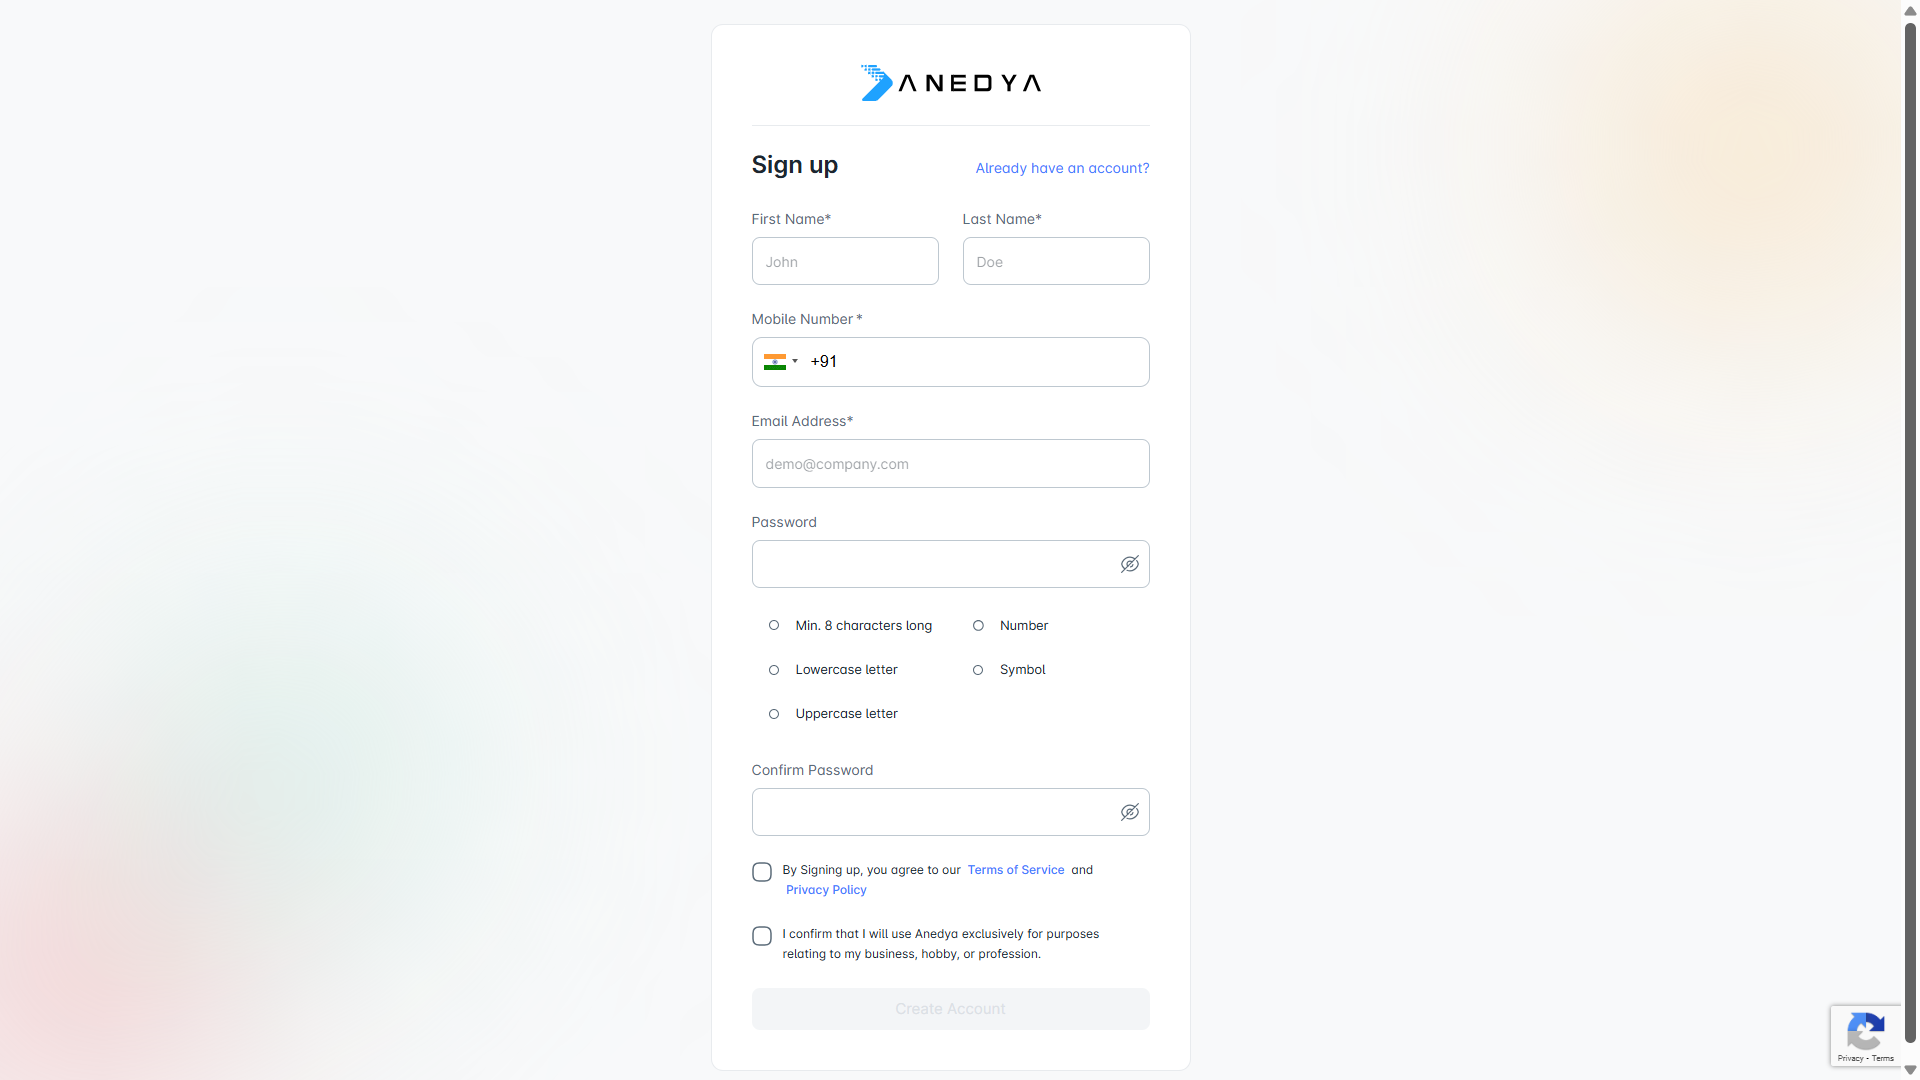
- Visit the Anedya Cloud sign-up page.
- Complete the required fields: first name, last name and phone number.
- Enter your email address and a password to set up your account.
- Click the Create Account button.
- Check your email for a verification code from Anedya. Enter the code in the verification field.
- Once verified, you will be redirected to the Anedya Cloud login page. Use your email address and password to log in.
Create a New project
Click on New Project to open this dialogue:
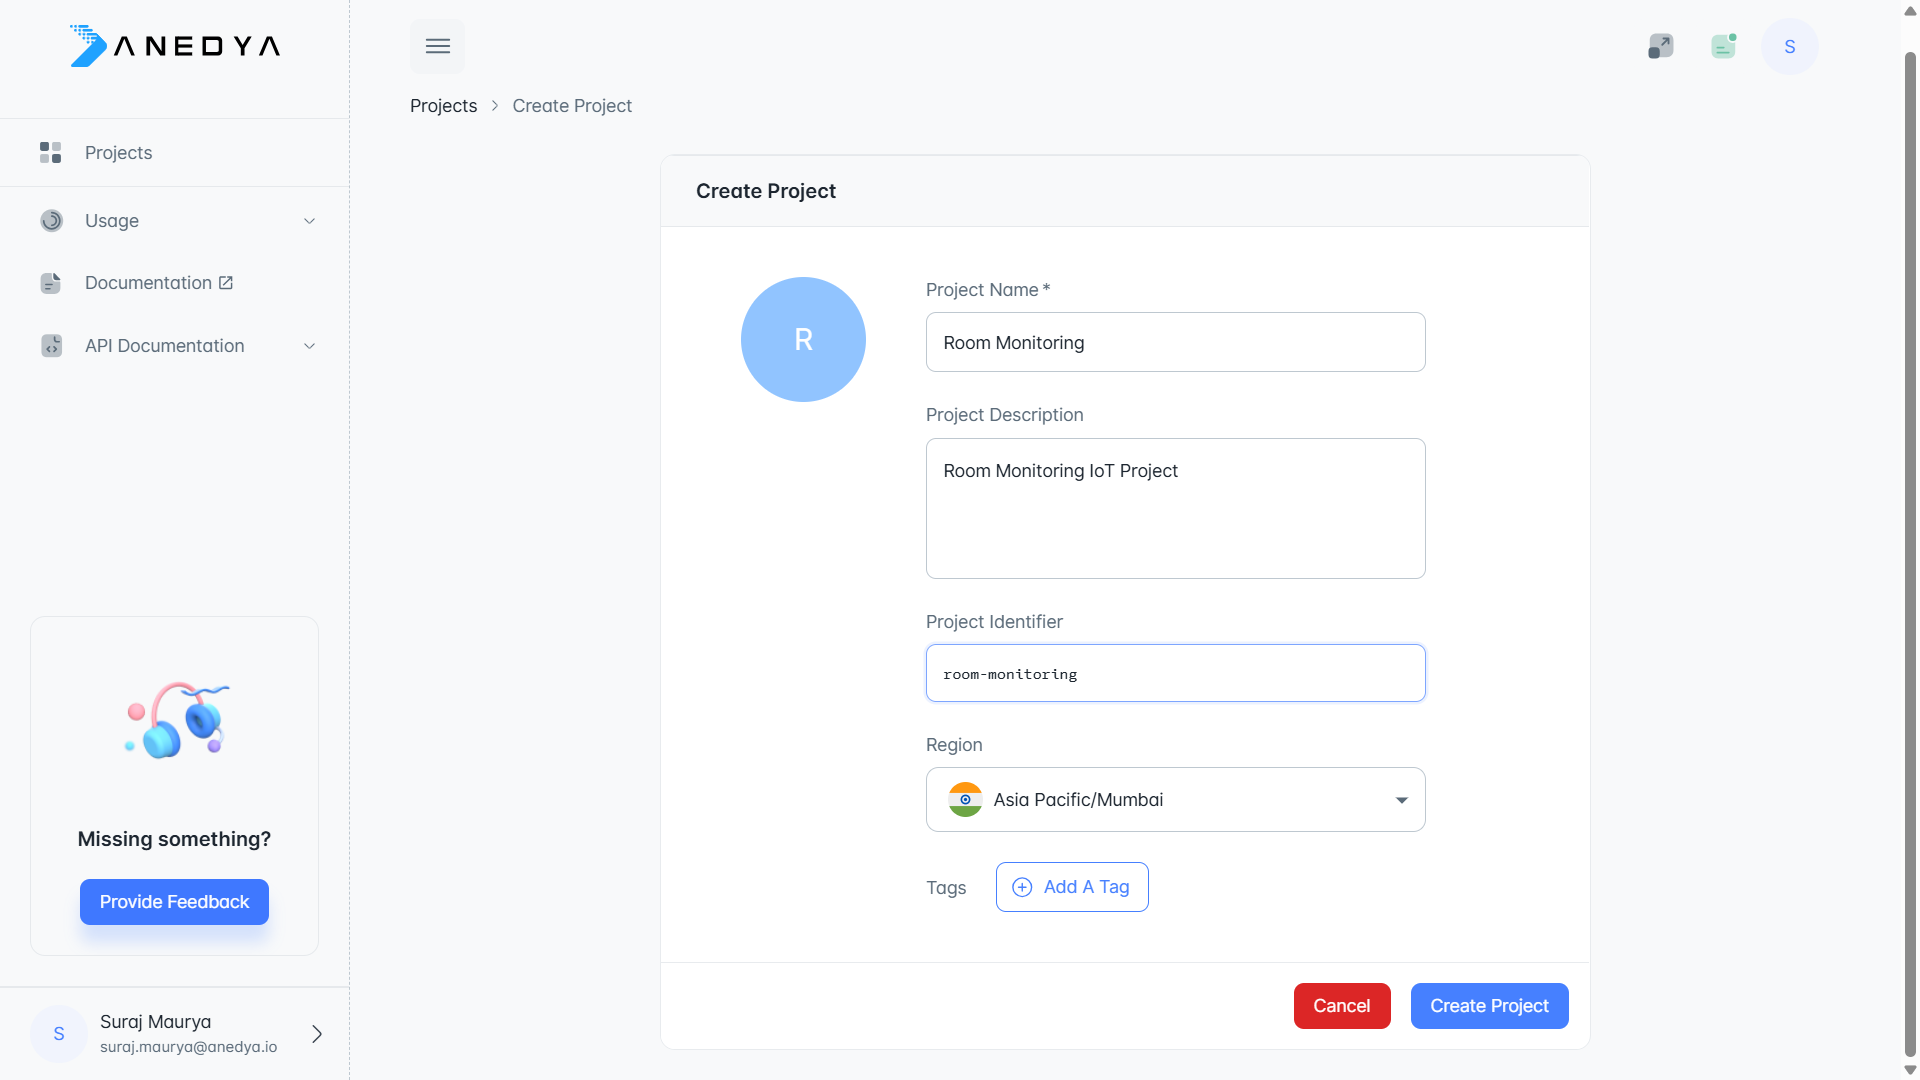
Consider projects as containers where you organize your IoT resources. You can create separate projects for different applications; for instance, you might have one for a humidity measurement product and another for an energy metering purpose. Importantly, resources within each project are entirely segregated from those in other projects and cannot be transferred between them.
Now, provide your project with a meaningful name and description — in this case, let's call it "Room Monitoring". As for the next entry, Project Identifier, leave it blank for now. It proves valuable when interacting with this project through APIs, but for this guide, we'll exclusively use the Anedya console.
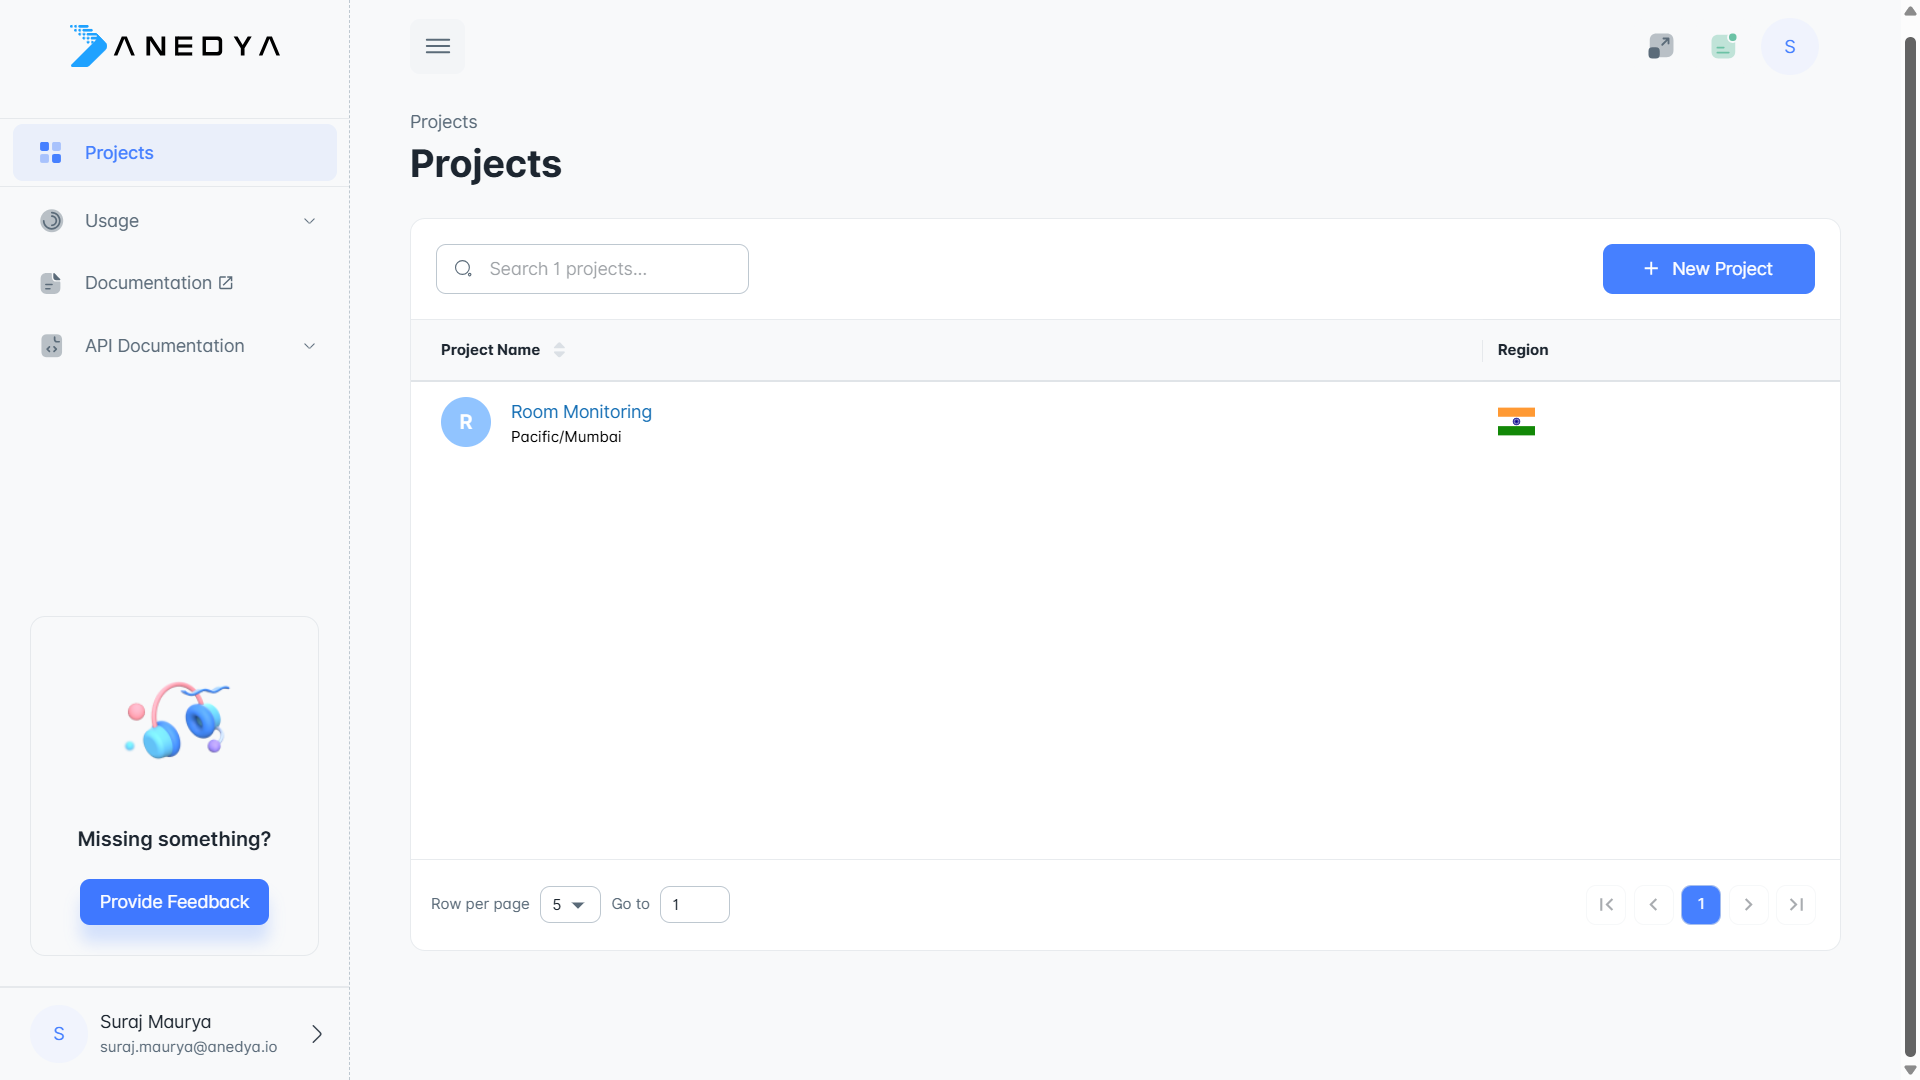
Once the project is created, navigate to the project dashboard by clicking on its name in the list.
Creating a Node
In the Anedya platform, all your devices are called nodes. Each node acts as a virtual device to which you can bind a physical one. You can bind only one device at a time to a particular node. This design allows you to replace physical hardware without worrying about data submitted by old hardware. have a malfunctioning hardware component, simply replace the hardware and bind it to the same node, and you'll have all of your previous data still available!
In Anedya, each physical device must have a unique UUID fixed for the entire lifespan of the device.
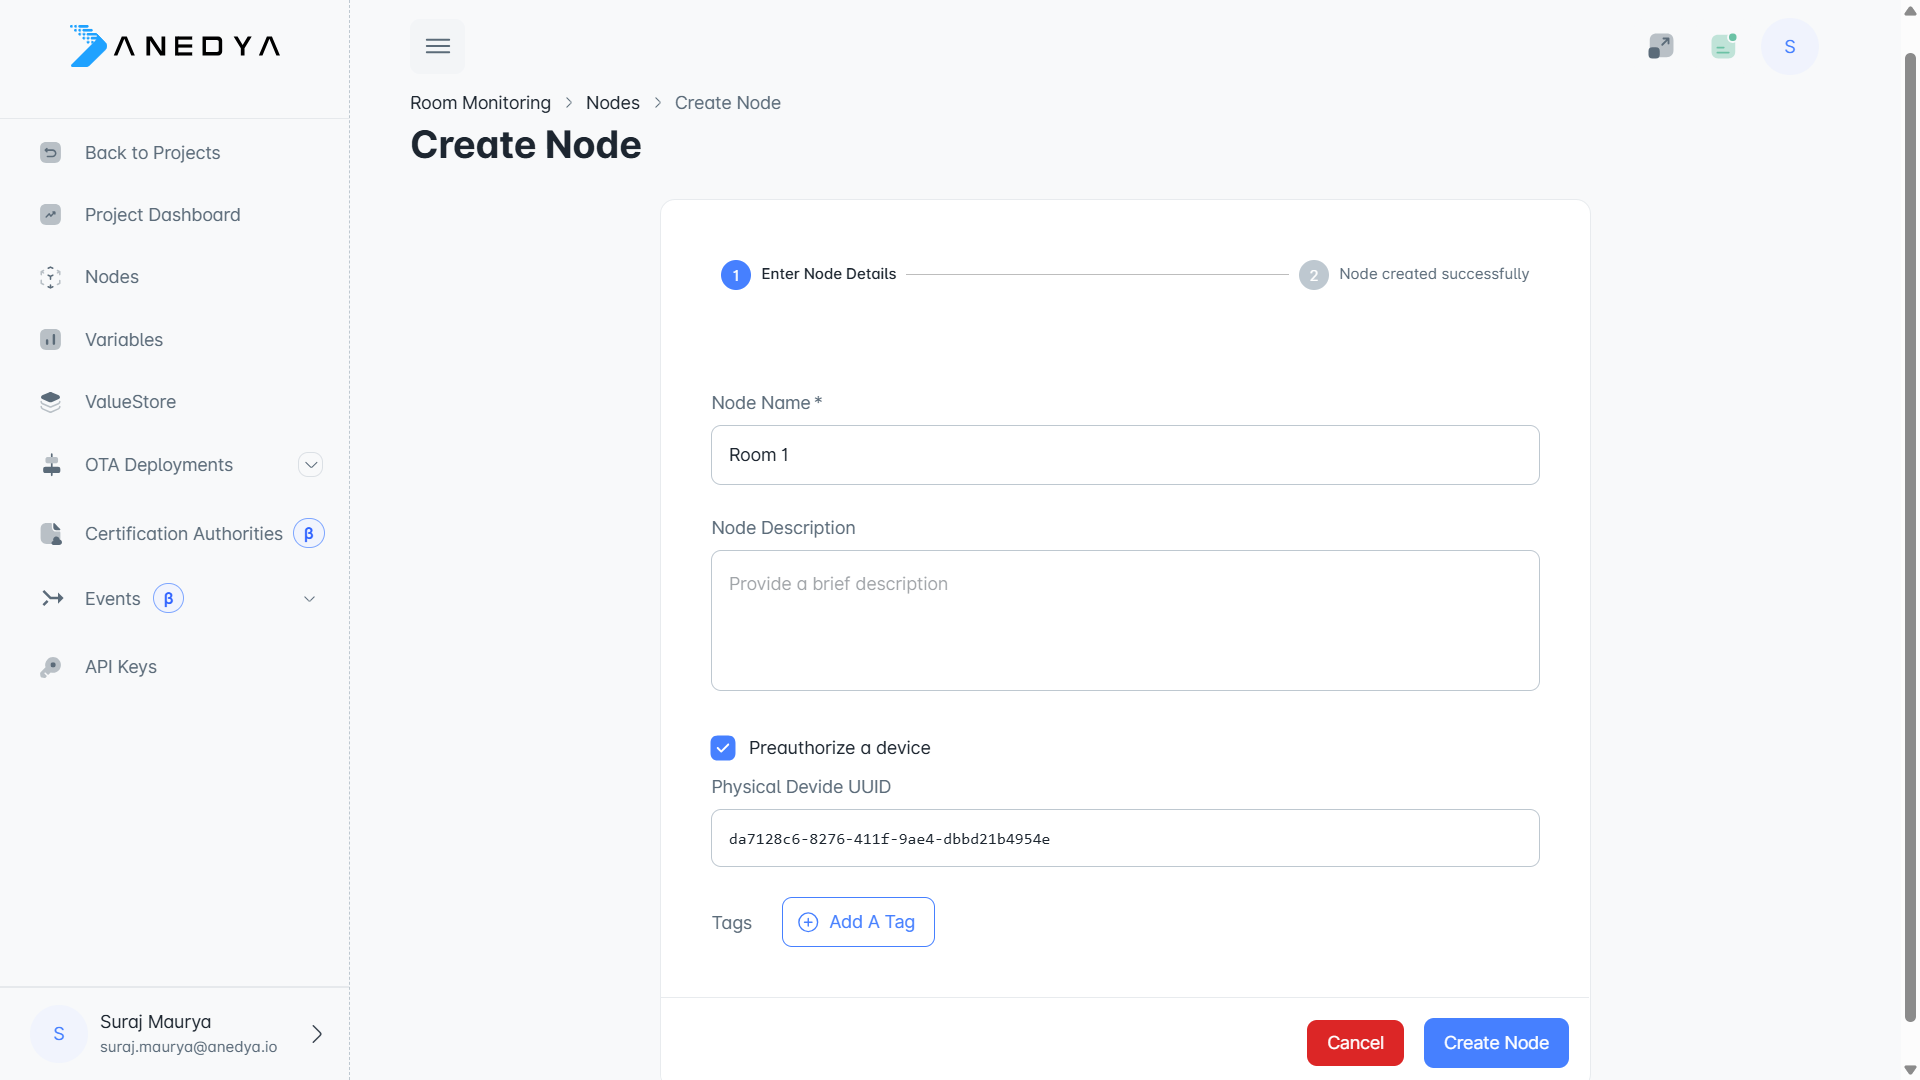
Moving on, let's create a node. Head over to the Nodes section and click Create Node
In the above step:
- Node name: Give a name to the node. (For example: Room 1)
- Node Description: Give a short description
- Physical Device ID: Toggle the
Preauthorize deviceoption to make this field visible. Enter a valid UUID for your device. You can generate one here.
The UUID generated online in this example is for demonstration purposes only. In production scenarios, each device must have it's own unique UUID prgrammed at the manufactring time. Read this for more details.
Please note down the UUID, as we will need it when we work on the hardware part.
Now let's take a break and understand what we mean by pre-authorizing a device. In Anedya you need to bind a physical device to the node before you can push any data. To authenticate a valid device, the Anedya platform needs to know the unique ID by which that particular physical can be identified. There are multiple ways through which you can bind a device to a node in the platform. One way is to provide an ID of the device while creating the node itself. This method allows the elimination of binding flow from the physical device. There'll be other dedicated tutorials about binding a device.
By now, you should have a node displayed in the list. Click on the Node Name and you should have a modal containing all the details:
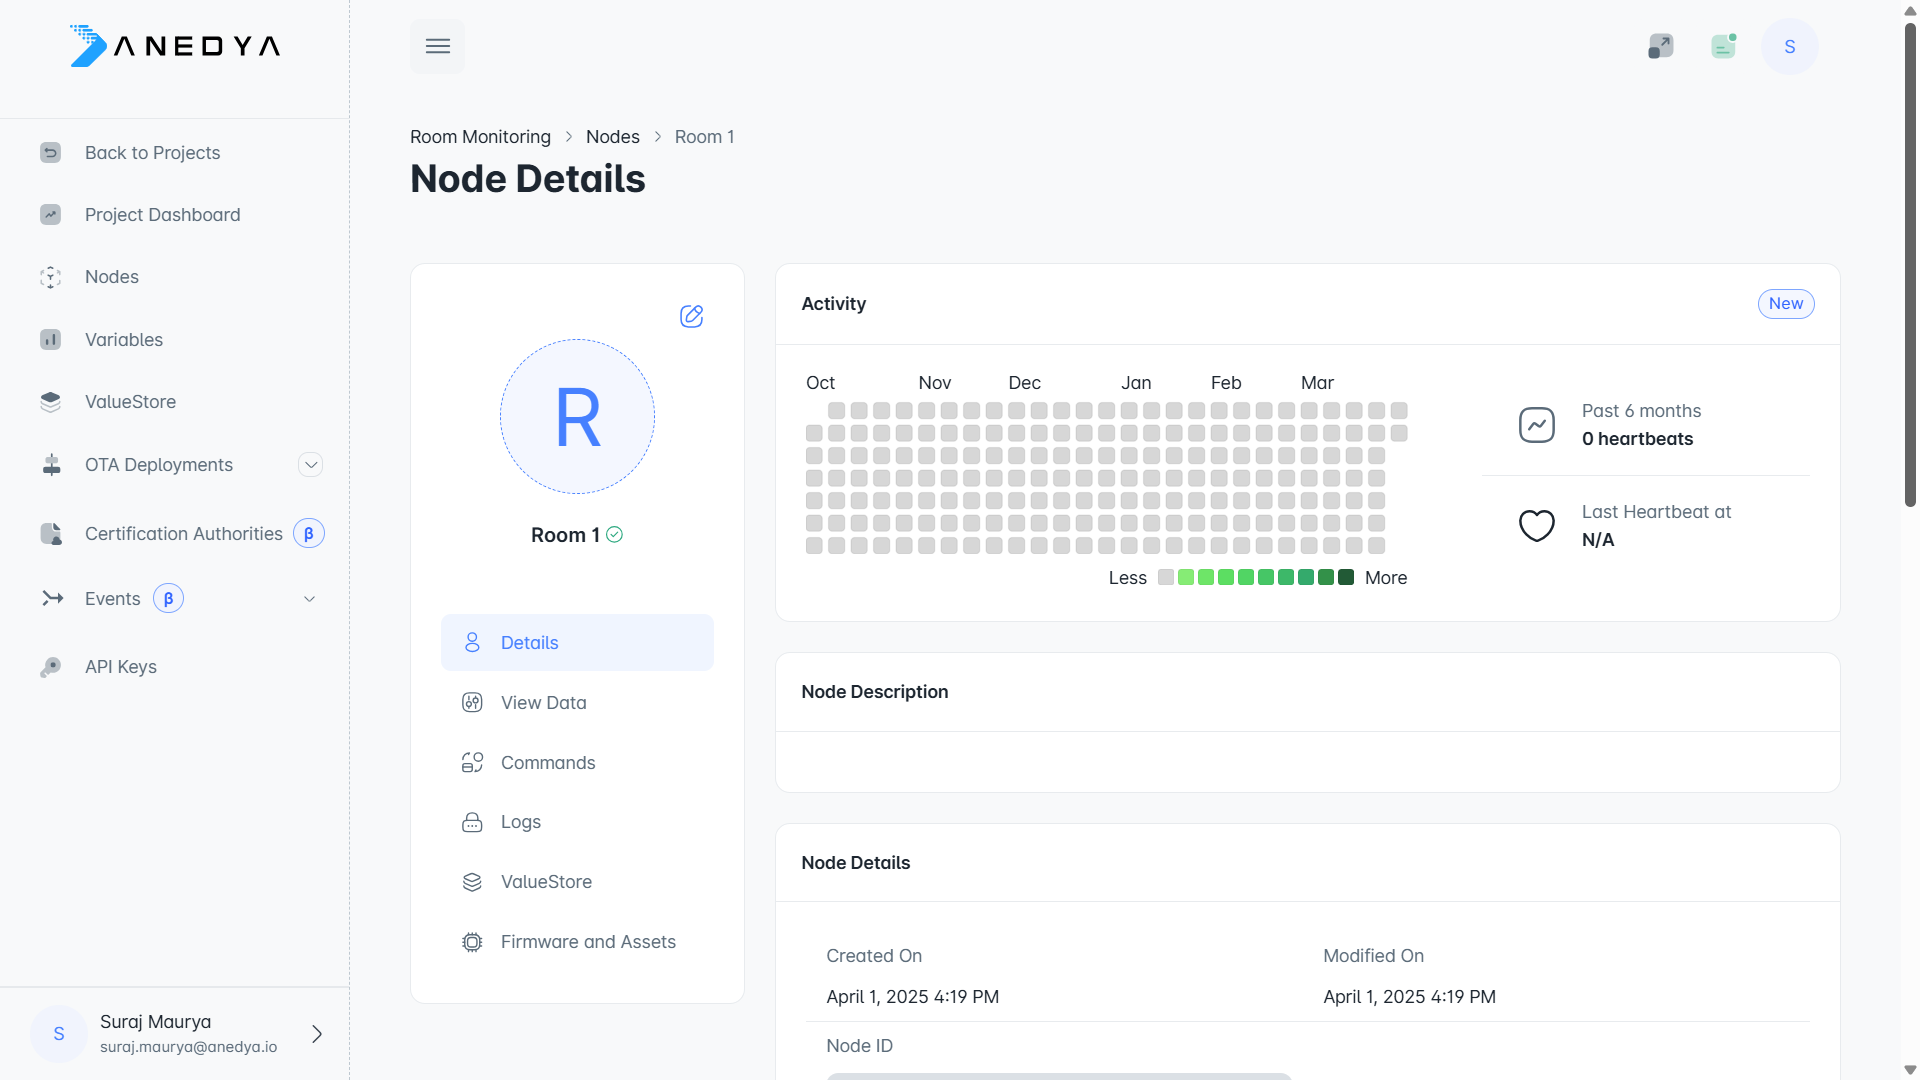
Ensure the Physical Device ID is not marked as N/A in the Credentials section. If it shows N/A, this indicates the device is not preauthorized. In such cases, navigate to the Edit Node modal and enable preauthorization.
You have now successfully set up a new project with a node in the Anedya console. You can now move on to setting up your hardware.