Getting Data into the Anedya Cloud
The quick start guide provides the fastest way to set up your IoT project on the Anedya Platform. However, you should refer to other documentation before going for production deployments.
By completing this guide, you'll be able to push the readings fetched from sensors to the Anedya Cloud and visualize data in Node Data Viewer.
Objective
This guide will illustrate a simple yet important aspect of your IoT application, retrieving data from your devices. Specifically, we'll focus on fetching readings from temperature and humidity sensors and transmitting this data to the Anedya Cloud.
Prerequisites
Getting started on the Anedya Platform is very simple. But before we proceed further, there are a few prerequisites:
-
Anedya IoT Cloud Account: Ensure you have an account with the Anedya IoT Cloud. If not, you can easily sign up here. The best part? It's completely free, and no credit card is required!
-
Project Setup in Anedya: Make sure you have project setup in your Anedya account. Read this guide to create one!
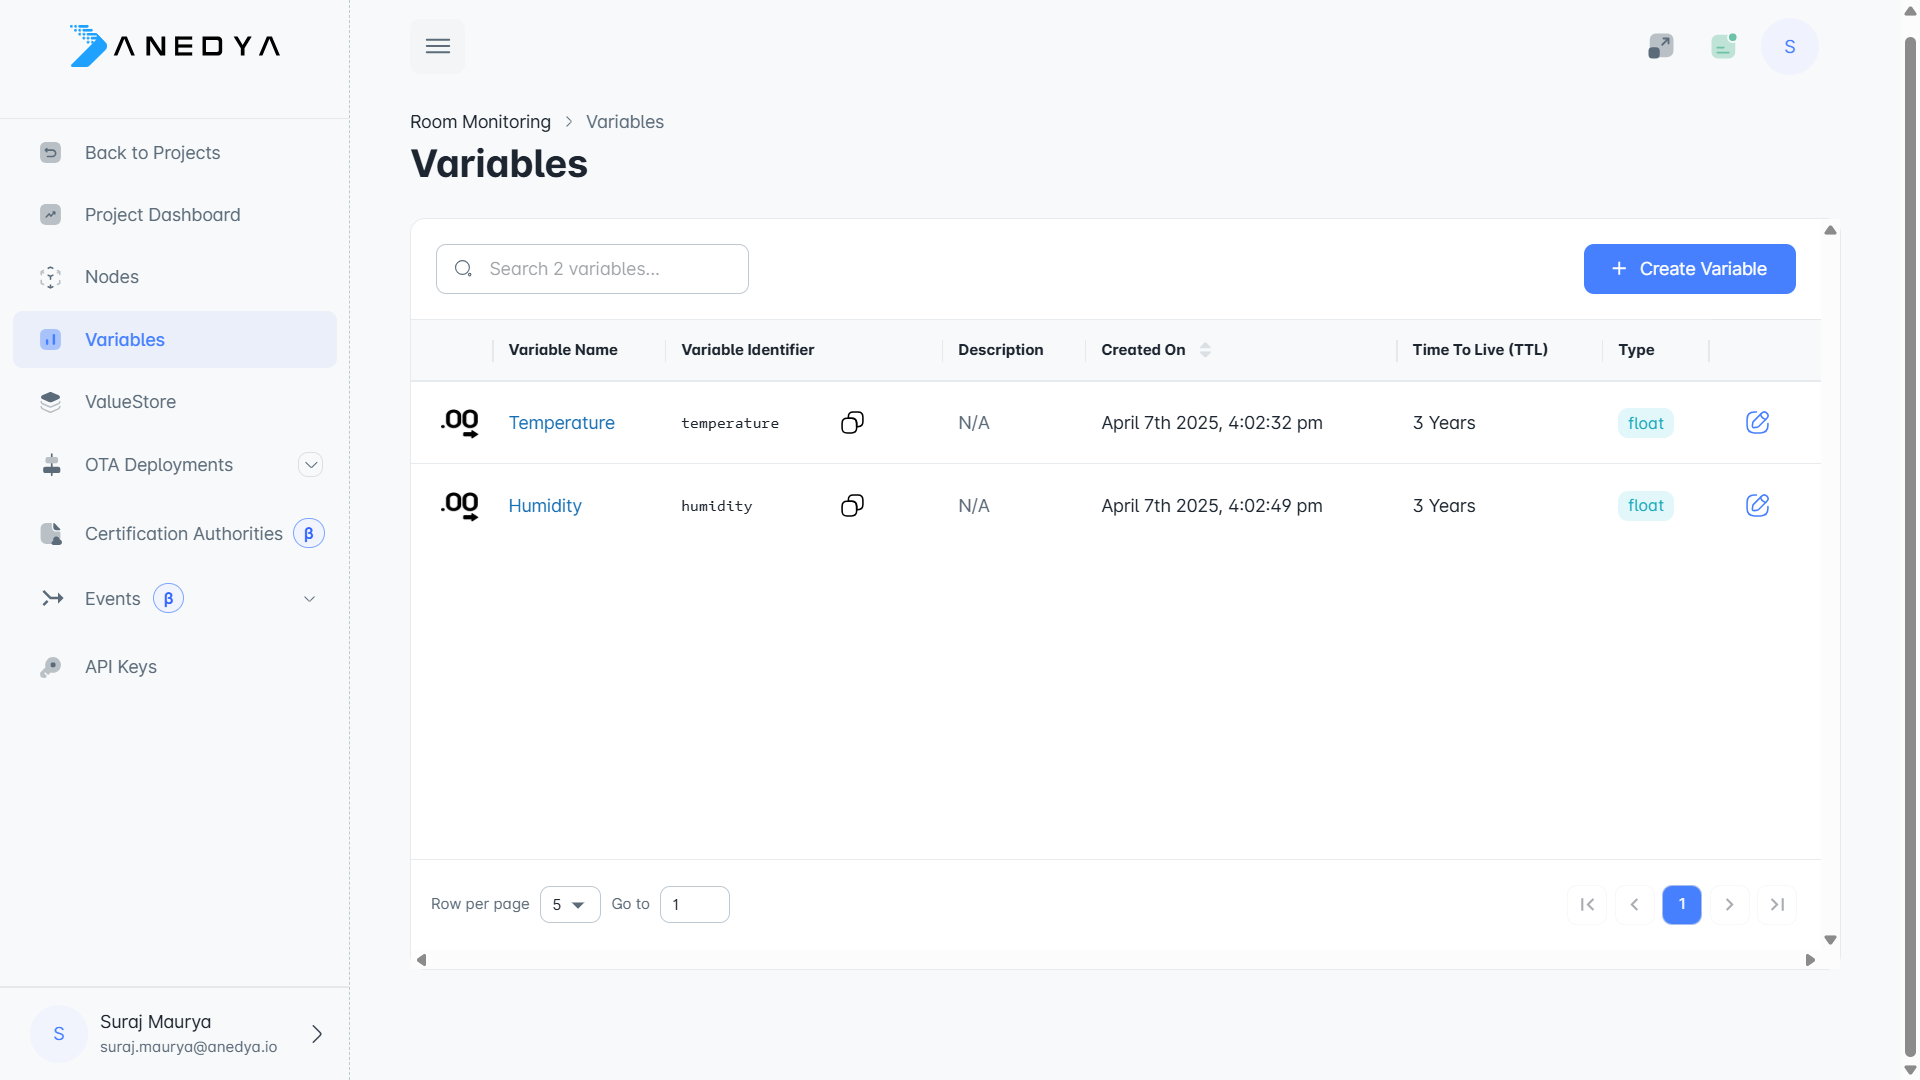
Create Variables
In this application, we want to get two readings from our IoT device, one is humidity and the other is temperature. If we manually recorded the readings, it would result in a table like this:
,
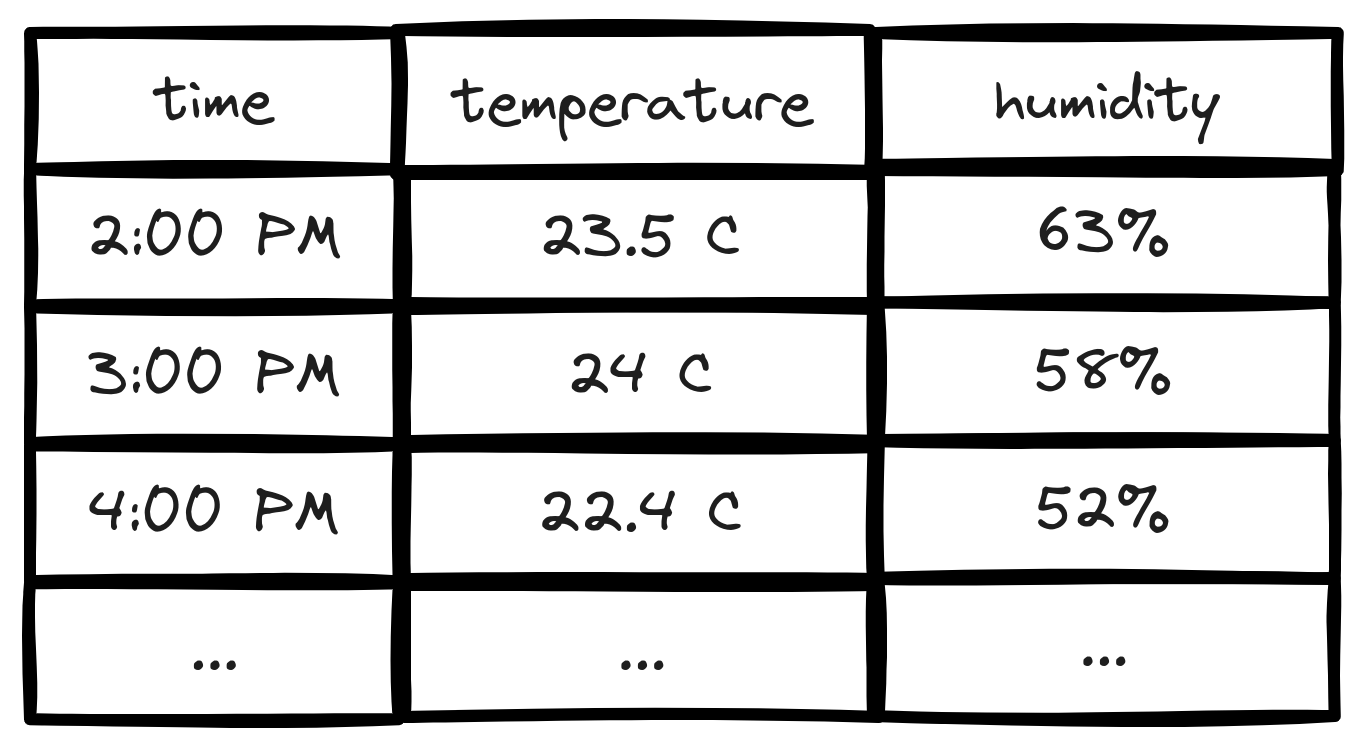
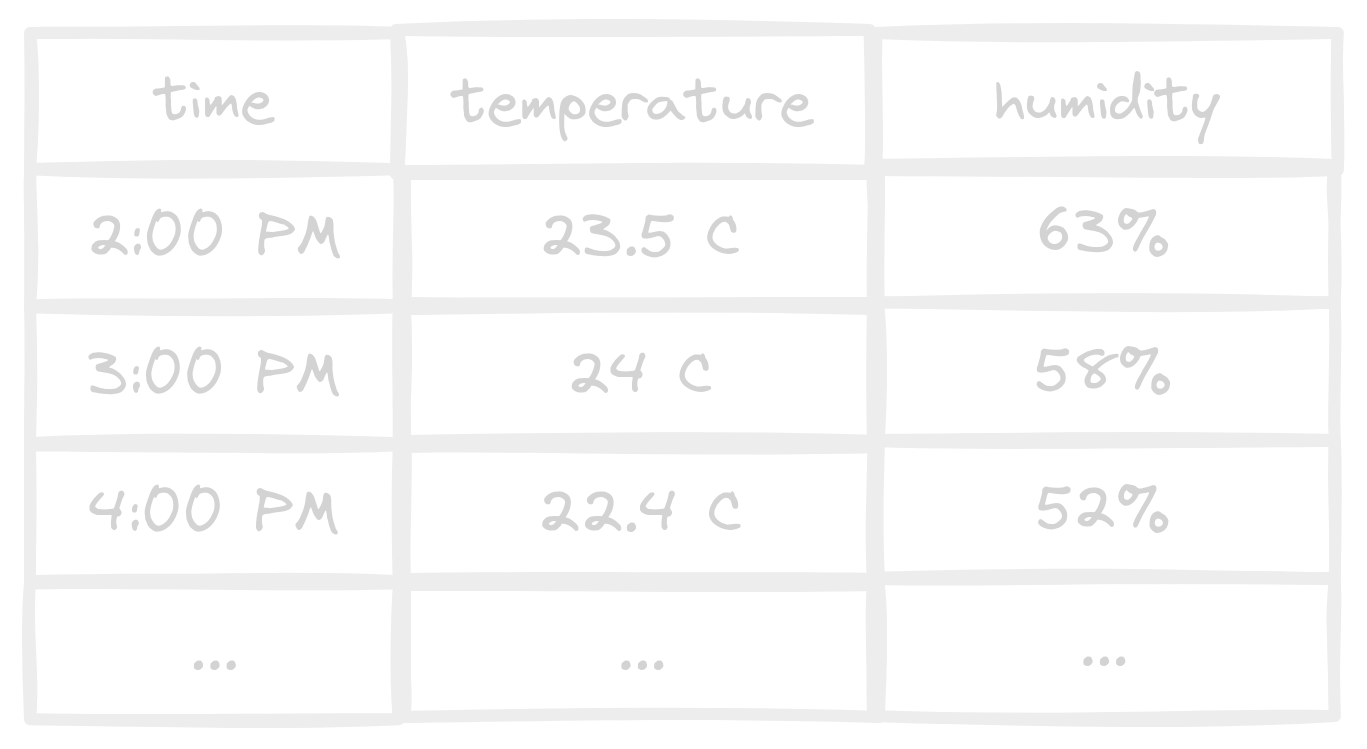
In the above table, temperature and humidity are two columns that store readings for each variable. Similarly, in Anedya, we can create a variable to store the readings for that particular variable. For our application, we will create two variables that will store data for temperature and humidity, respectively.
To create a variable go to the variables section and click new variable:
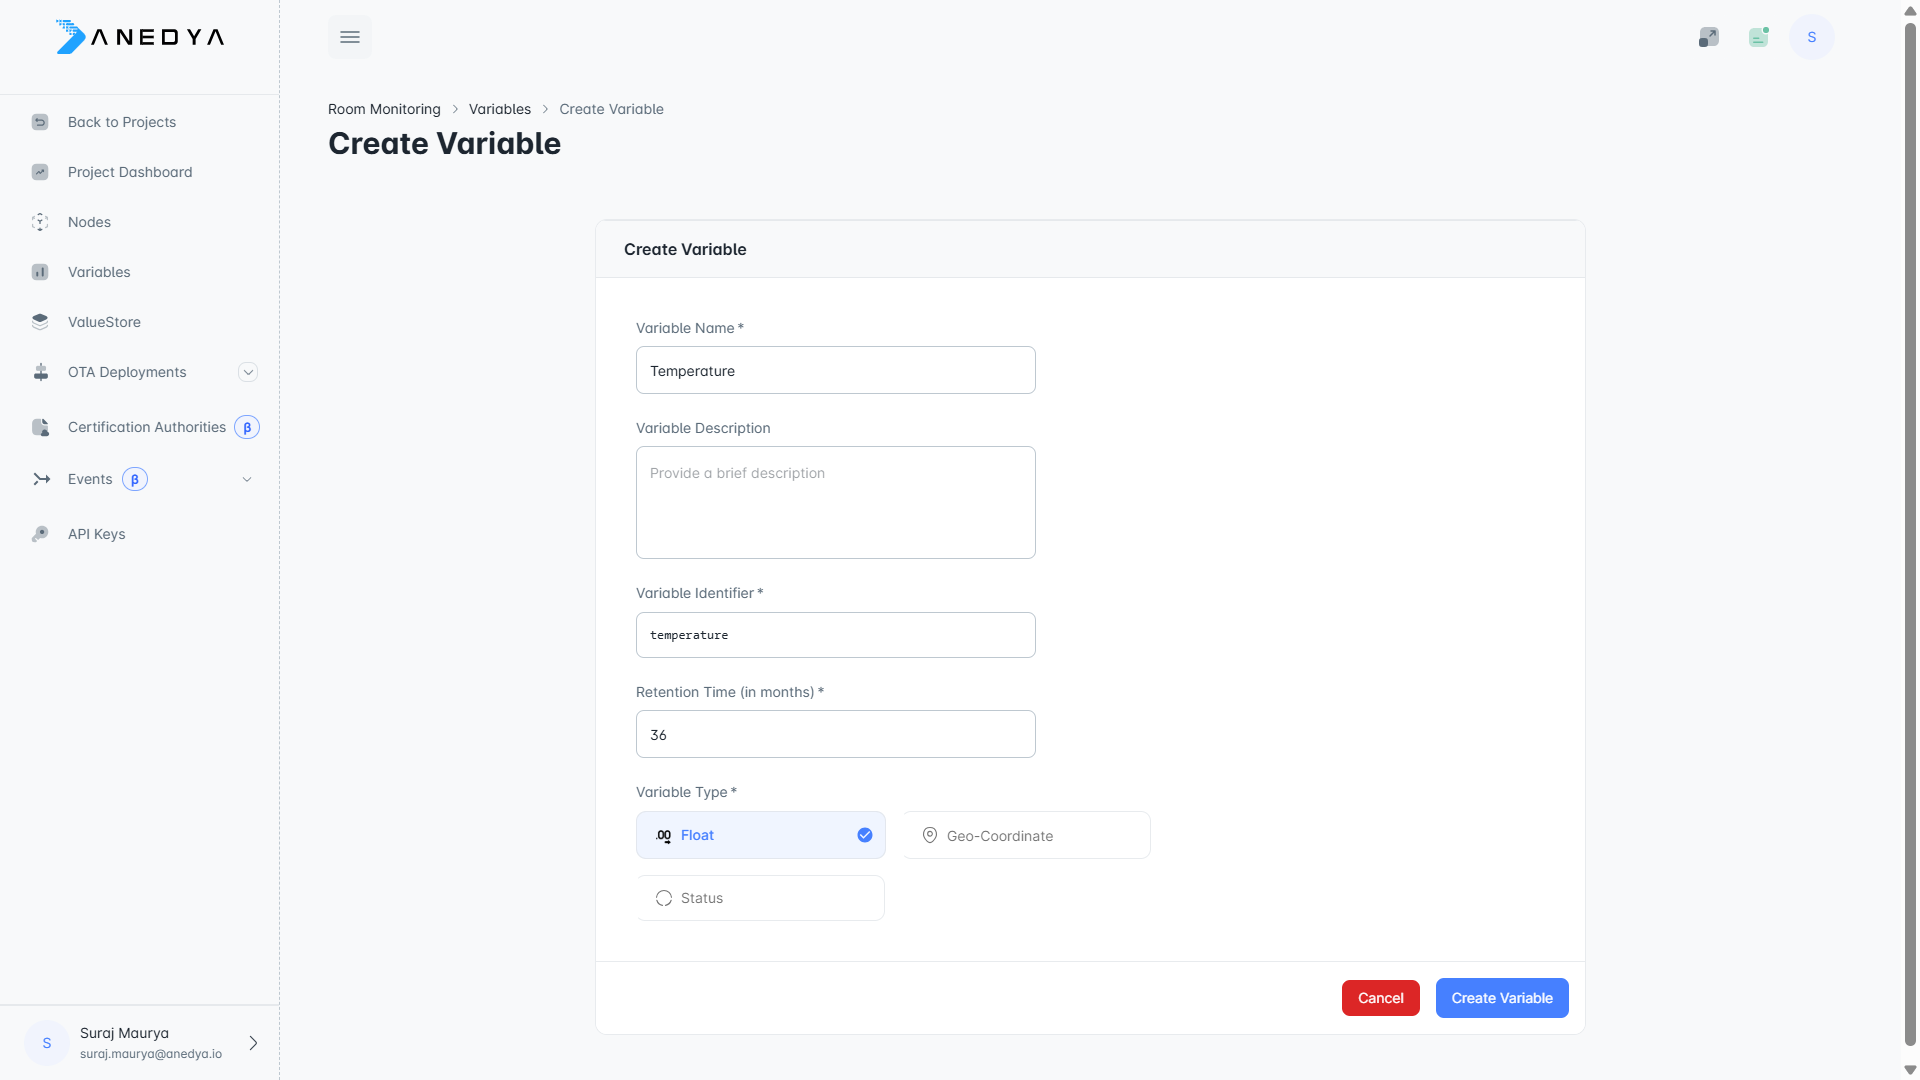
In the dialogue, you will notice two things:
- The variable type is float
- The variable identifier is
temperature
Anedya supports various types of variables like float, geocoordinates, status and many more! Each variable type is optimized to store certain types of data and should be used accordingly. Here we are getting readings as a float from the sensor; hence, the float is selected.
In Anedya float has a precision of float32
Also, we need an identifier to be set for this variable. If you don't specify one, the platform will automatically specify one for you, which is the variable ID by default. Please note that you can not change the identifier once a variable is created. We will use this API identifier later in this guide while submitting the readings from the device.
Similarly, create one more variable with the identifier set to humidity. You should now have two variables in your list.
Setting Up Hardware
To begin, connect an ESP32 development board using the Arduino IDE.
Working with different hardware? Check out these examples:
Let's get started!
Arduino Code
Copy the example arduino code.
This example code uses MQTT to connect with the platform. You can also connect using HTTP! for HTTP, please refer to the HTTP Commands Api
Paste it in a arduino sketch and we need to modify the following parts:
// Provide your connection key, that you can get from the node details section
const char *CONNECTION_KEY = "CONNECTION_KEY";
// Provide your Physical Device ID
const char *PHYSICAL_DEVICE_ID = "PHYSICAL_DEVICE_ID";
// Wifi ssid and password
const char *SSID = "SSID";
const char *PASSWORD = "PASSWORD";
Provide your connection key, physical device id, wifi ssid and password.
Let's have a look at the main part of the code, the rest is just normal stuff.
// Emulate Hardware Sensor?
bool virtual_sensor = true;
Follow the instructions to interface the DHT sensor. Else if you don't have the DHT sensor, keep the virtual_sensor value as true.
// MQTT connection settings
String str_mqtt_broker="mqtt."+REGION_CODE+".anedya.io";
const char *mqtt_broker =str_mqtt_broker.c_str() ;
const char *mqtt_username = PHYSICAL_DEVICE_ID;
const char *mqtt_password = CONNECTION_KEY;
const int mqtt_port = 8883;
// Subscribe topic for the anedya responses
String responseTopic = "$anedya/device/" + String(PHYSICAL_DEVICE_ID) + "/response";
 // Subscribe topic for the anedya errors
String errorTopic = "$anedya/device/" + String(PHYSICAL_DEVICE_ID) + "/errors";
Here, we define the essential configuration parameters for the MQTT connection such as the broker's URL, port, username, and password. We also define the topics for receiving commands, responses and errors.
  esp_client.setCACert(ca_cert);                 // Set Root CA certificate
  mqtt_client.setServer(mqtt_broker, mqtt_port); // Set the MQTT server address and port for the MQTT client to connect to anedya broker
  mqtt_client.setKeepAlive(60);                  // Set the keep alive interval (in seconds) for the MQTT connection to maintain connectivity
  mqtt_client.setCallback(mqttCallback);         // Set the callback function to be invoked when MQTT messages are received
Here, we provided the Root CA certificate, set the MQTT server address and port, set the keep alive interval, and set the callback function to be invoked when MQTT messages are received.
connectToMQTT();
This function attempts to establish an MQTT connection and subscribe to the Anedya topics for the responses and errors.
void anedya_submitData(String datapoint, float sensor_data);
Use this function to send data to the Anedya. Here datapoint refer to variable Identifier and sensor_data refer to variable Value.
Ensure your device is connected
void anedya_sendHeartbeat();
This function is used to send a heartbeat to the platform, notifying it that the device is still connected and active.
Now, install the required libraries, compile the code and upload it to your ESP32 board.
Visualize Data
The Anedya dashboard comes with basic visualization functionality. Go to View Data, available through the node's context menu. Select the variable you want to visualize and click View Data to get a nice graph showing the last 100 data points submitted by your device.

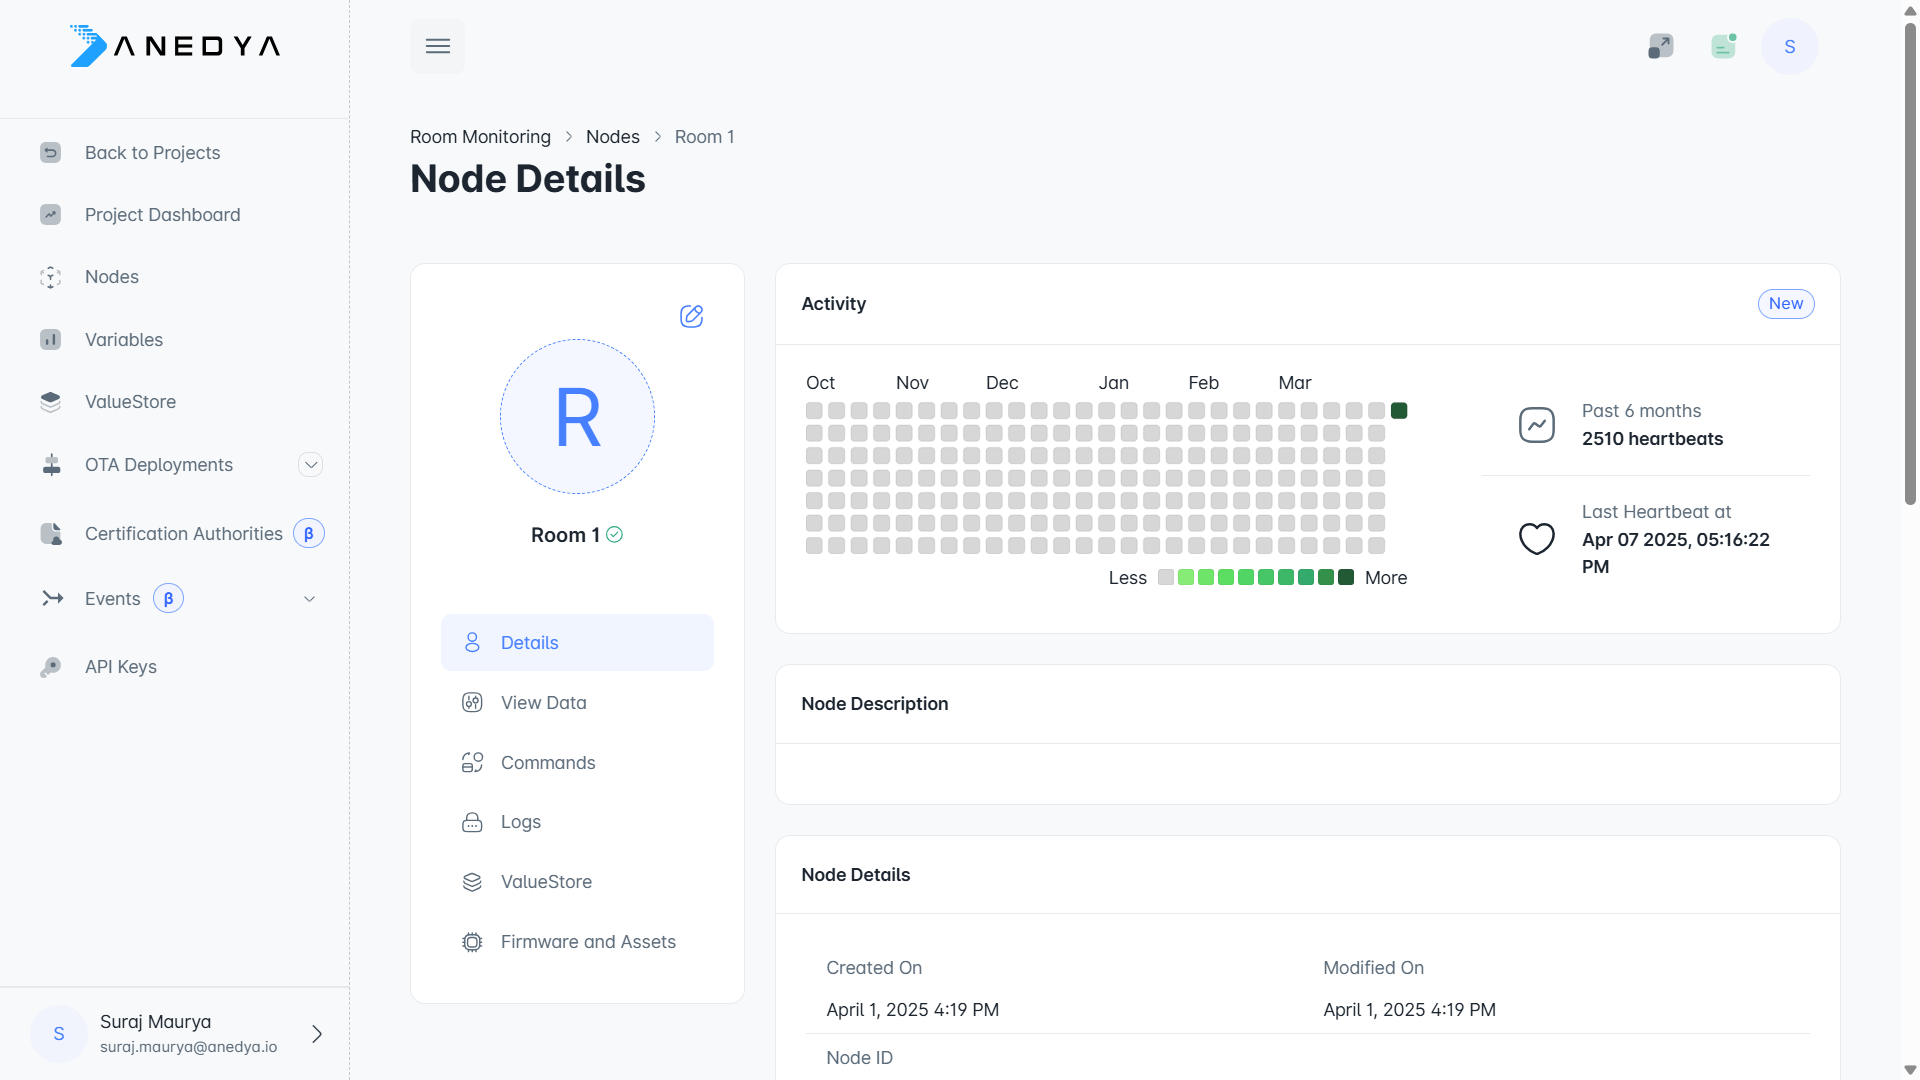
Check Device connectivity
The heartbeat notifies the platform that the device is still connected and active. You can view the last time your device connected to the platform in the Node Details -> Activity section.